
Start with a connection you can verify and one small task. This guide covers Novamira Pro bought separately or as an extra.
Screenshots retain Novamira’s original English interface. Control names match the real screens.
Before changing settings
Prepare an HTTPS staging site and a backup you can restore. Use development or staging for AI changes, review the results there, then deploy them to production. Keep real customer data out of initial tests.
What you can prepare after purchase
Choose your AI tool and check that it supports MCP connections. While installation is pending, prepare your account and staging site; wait for Novamira to be installed before adjusting it. Buying it as an extra does not mean you need another Pro purchase.
Check Free and Pro
Pro runs on top of Novamira Free: both must be installed and active. If La Colmena handles installation and license activation, check the confirmation. You do not need access to La Colmena’s vendor account or its license key. Check the license status under Novamira → License when available.
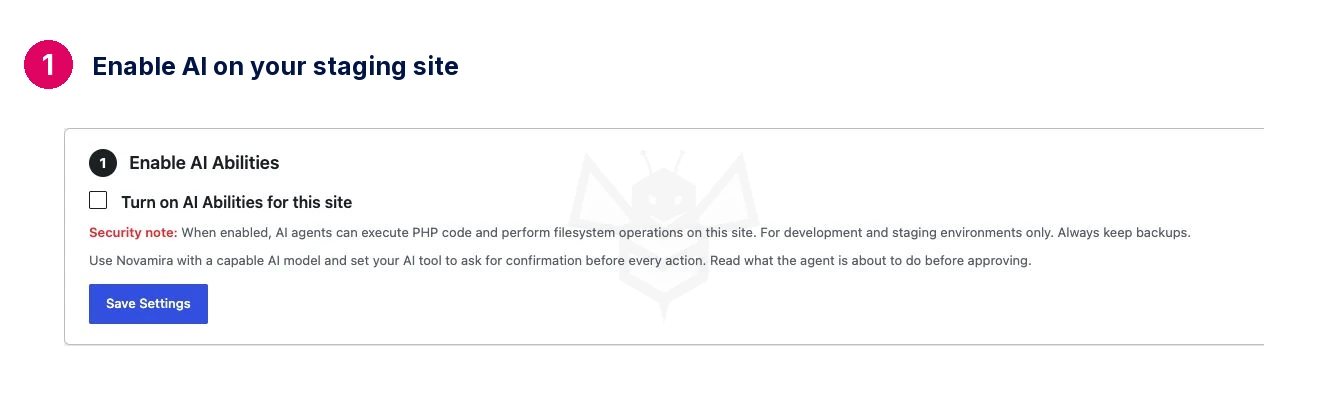
1. Enable AI on the staging site
Open Novamira → Configuration, select Turn on AI Abilities for this site and save with Save Settings. Authorized AI clients can then act on this site. Set your AI tool to request confirmation before every action and read its proposal. Check that the box stays selected after reloading and connection steps appear.
2. Select your actual AI tool
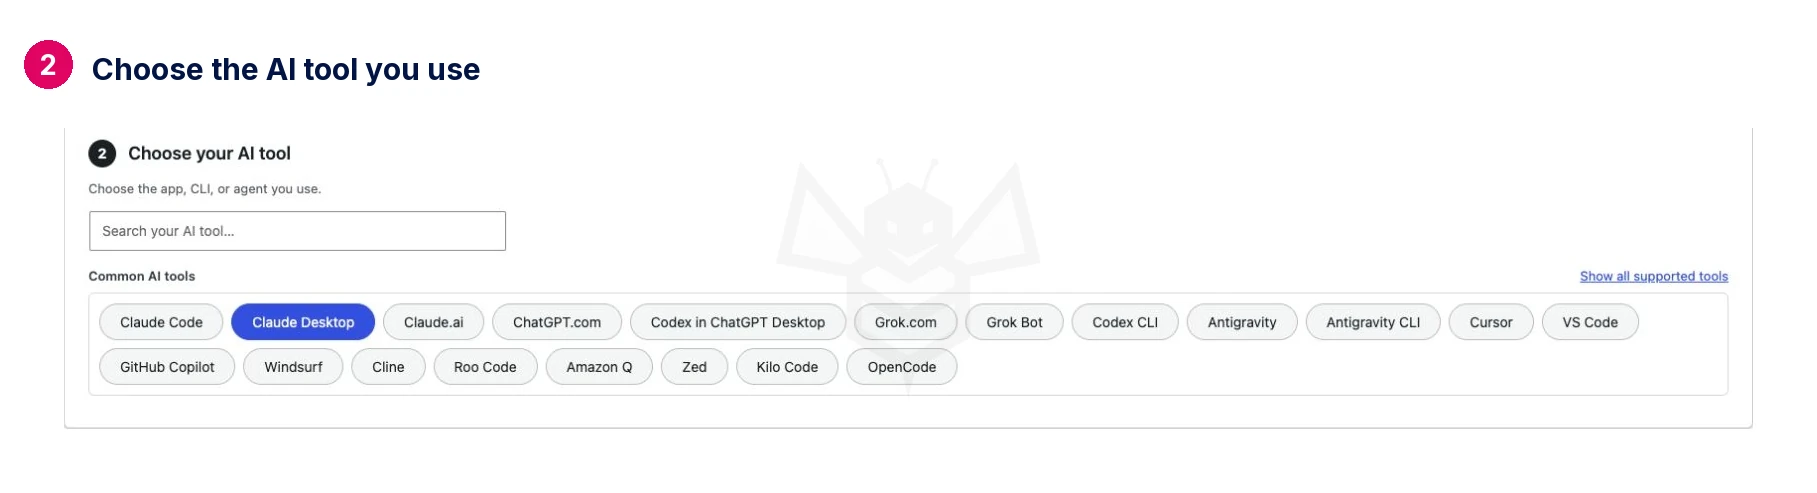
Under Choose your AI tool, select the app or agent you use. The screenshot uses Claude Desktop as an example. Instructions change with the selected client; do not copy a different client’s setup.
3. Select a connection method
OAuth authorizes access through your WordPress sign-in. Application password uses a separate WordPress credential. Follow the recommendation for your client and host. If cloud AI traffic is blocked, consult Troubleshoot instead of routinely disabling your firewall.

4. Follow the client instructions
Follow Connect Your AI Tool on the same screen. For OAuth, use your staging site’s URL, sign in and approve the connection you initiated. For Application password, create an identifiable credential, keep it private and follow the generated setup for your client. Some routes require Node.js. Never share the password, setup prompt or configuration in screenshots or email.
5. Verify before requesting changes
Start by asking: “Check which site you are connected to and which theme, builder and Novamira tools are available. Do not change anything.” Confirm the staging site and installed tools. A no-write instruction is a working rule, not a technical barrier. Saving a URL alone does not prove the connection works.
6. Use Pro memory
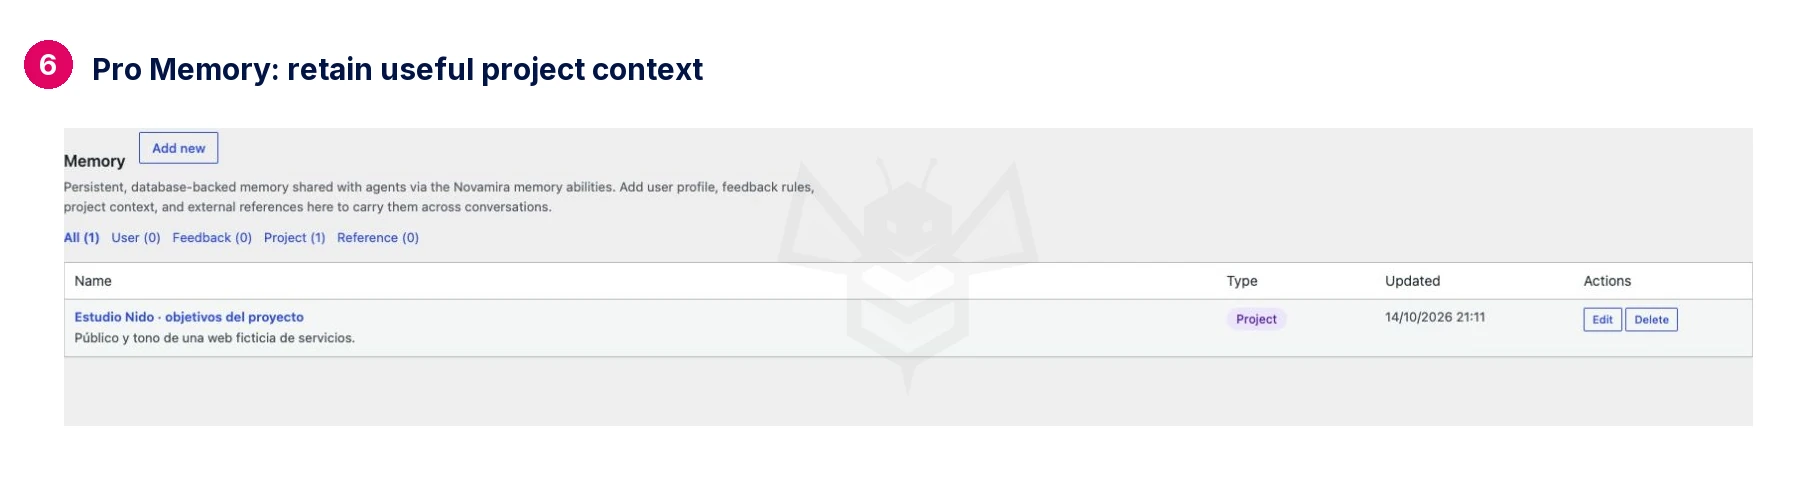
Under Novamira → Memory, review and edit context retained between conversations. Select Add new, enter a clear name, choose Project and complete Description and Content. Save and return to the list: your note should appear. Store the site goal, audience and tone, keeping passwords, keys and personal data out. In another conversation, request that context and check the correct site. The screenshot shows a fictional example project.
Alternative: chat inside WordPress
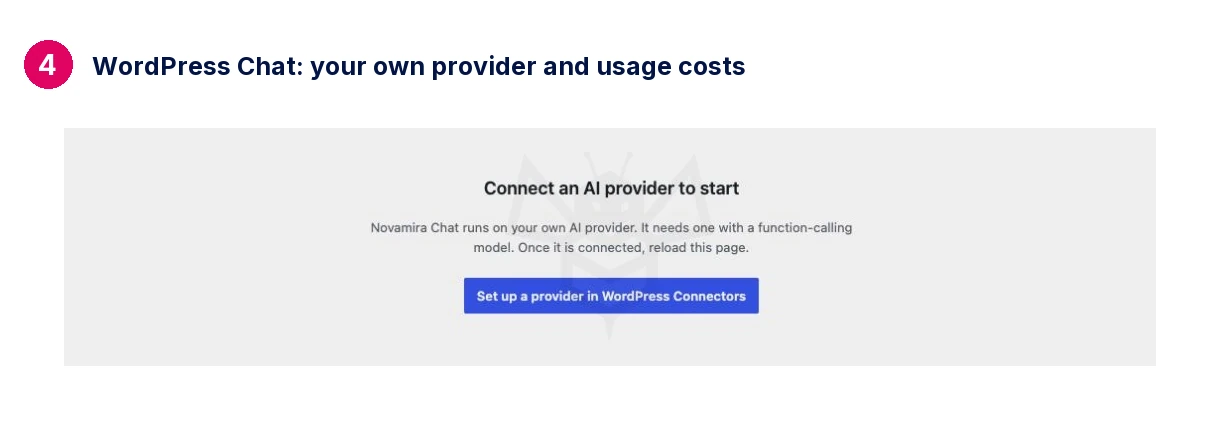
Novamira → Chat needs your own AI provider and a model with tool calling, plus a compatible WordPress installation. If you see Connect an AI provider to start, follow its provider setup button. API use is billed separately; a chat-app subscription does not prove you have API credit. An external compatible client does not routinely require a second API subscription.
Review and close unused connections
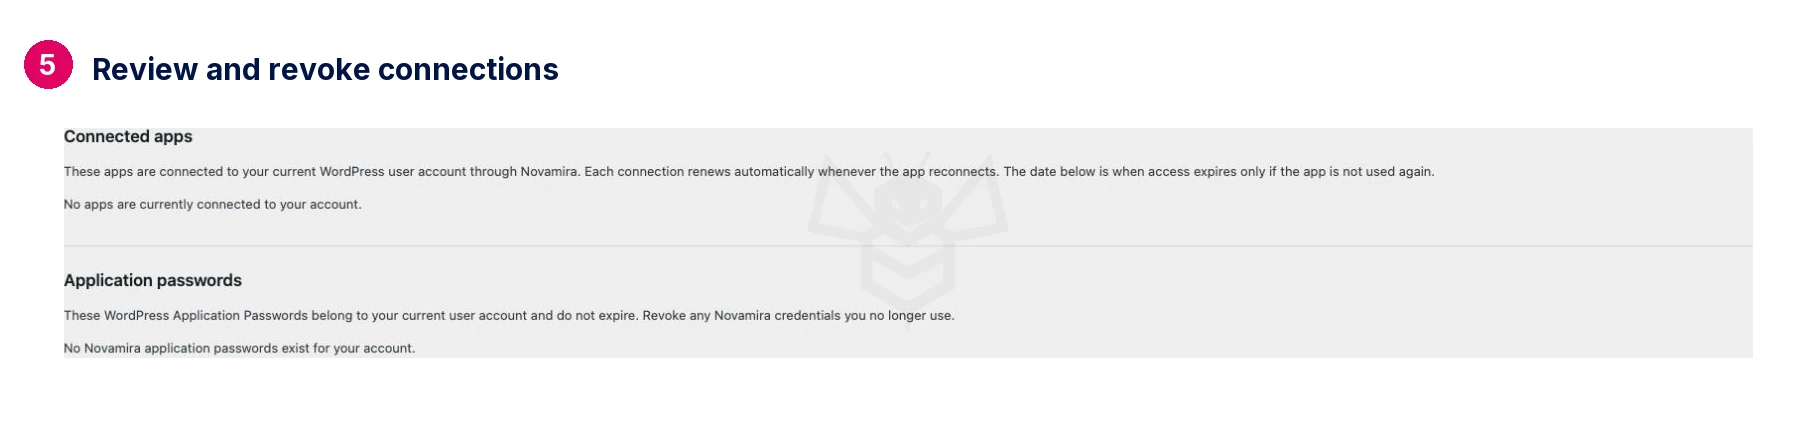
Open Configuration → Manage Connections. Review your user’s apps and application passwords, and revoke only those you identify as unused. Uncheck Turn on AI Abilities for this site and save to stop connections while keeping settings and sandbox files.
If the connection fails
Check HTTPS, your selected client, AI abilities, authentication and hosting restrictions. Use Troubleshoot to follow the specific diagnosis. After changing domains, check the domain authorization and client URL. Do not post credentials publicly.