
Step-by-step video
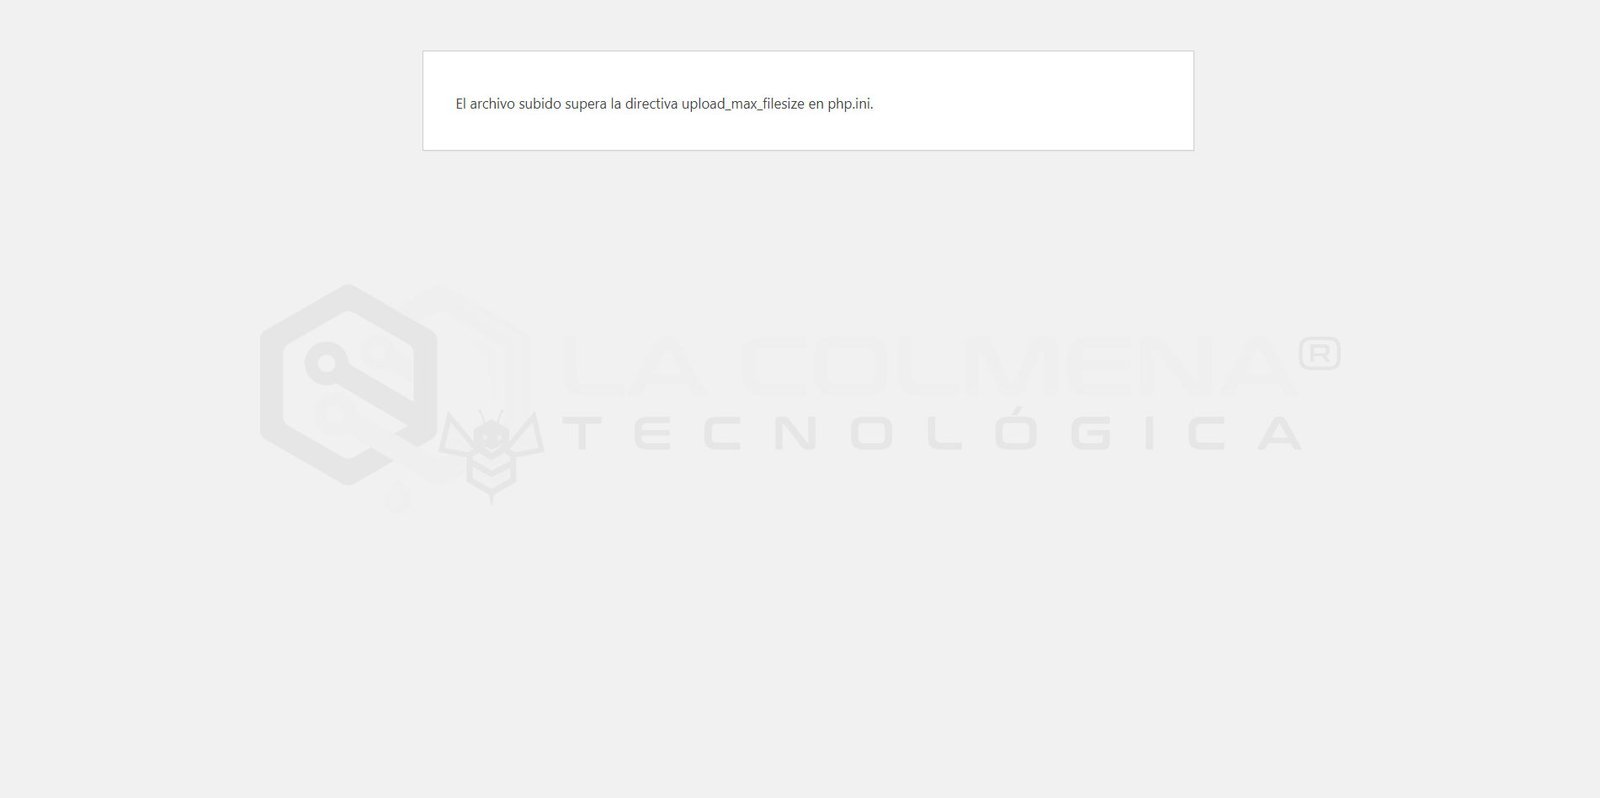
This is a common and easy-to-fix error, usually occurring when we try to upload a plugin or a media file (image, PDF, audio, video, etc.) from the WordPress admin panel and the file exceeds the maximum upload size directive, which by default is 2 Megabytes. If the file we are trying to upload is larger than 2MB, WordPress will show this error:
- When uploading a plugin: The uploaded file exceeds the upload_max_filesize directive in php.ini.
- When uploading a file to the Media Library: The file document.ext exceeds the maximum upload size for this site.
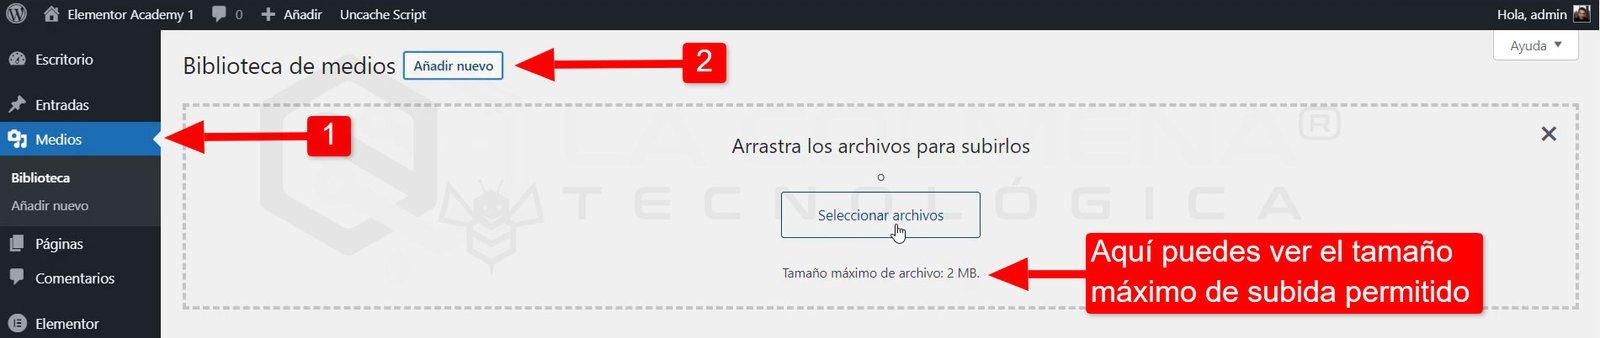
This limit is intended to prevent our project from being overloaded with heavy files.
As you may already know, WordPress is programmed in PHP (Hypertext Preprocessor), which loads a series of directives through a file called php.ini when it starts.
What is php.ini?
The php.ini file is a special file where we can declare changes to the PHP configuration through its directives. It is one of the essential configuration files, as it is the first file executed when PHP starts, so any functional changes will be read from it.
Some of the most important settings implemented in this file are: upload directory, display errors, log errors, maximum upload size (upload_max_filesize), maximum execution time, etc. This allows for easy management of how the Apache web server is administered.
How to solve the problem?
To solve this problem, simply increase the value of the upload_max_filesize directive, which is 2M (2 Megabytes) by default. You can increase it to 4M, 8M, 10M, 16M… I recommend increasing it to 128M so you won’t have any issues.
There are several ways to change this directive; the easiest is to contact your hosting provider’s technical support and request it: “Please, I need you to increase the upload_max_filesize variable capacity to 128M for the domain your-domain-here.com, thank you.” Now you just have to wait for someone from the support team to make the change.
But you can also do it yourself through your web hosting control panel. Let’s see how to do it in the two most well-known web hosting managers: Plesk and cPanel.
How to change upload_max_filesize in Plesk
Steps to change upload_max_filesize in Plesk.
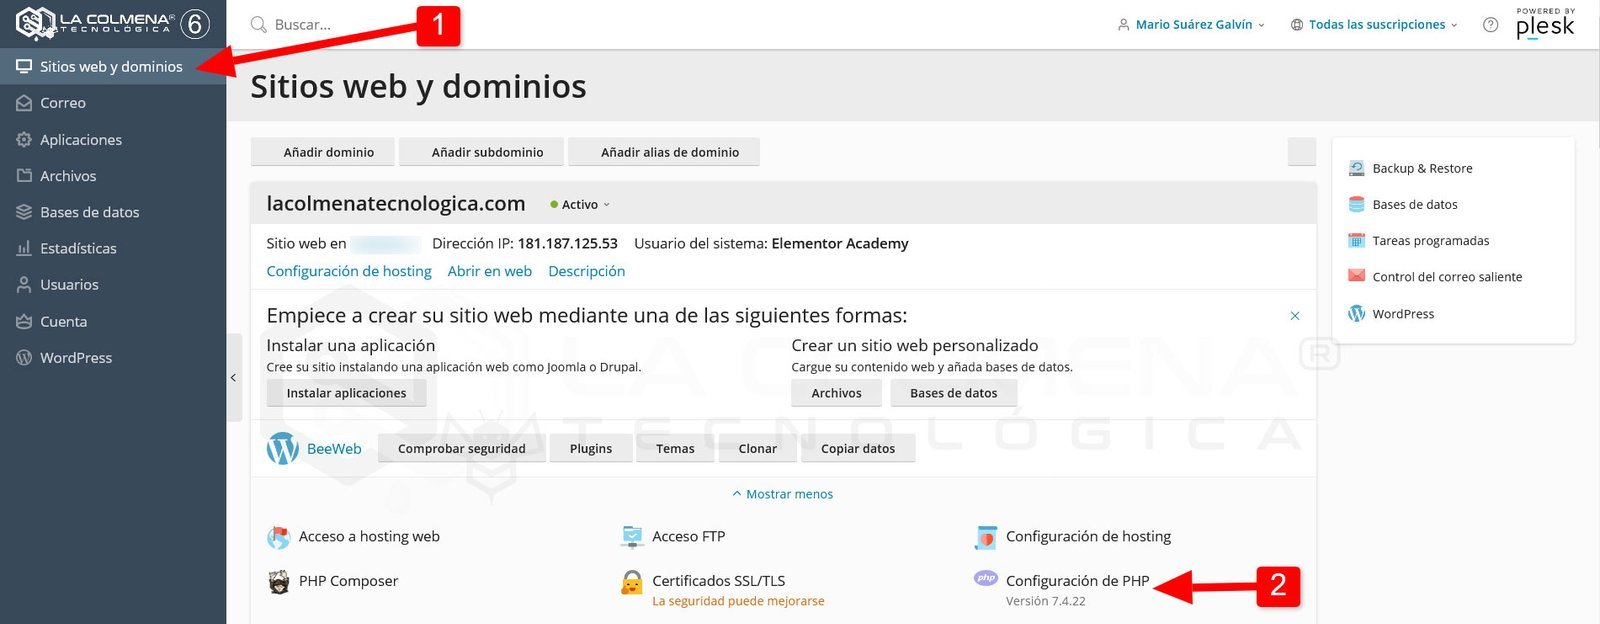

- Click on Websites Domains
- Click on PHP Settings
- Change upload-max-filesize to 128M
- Scroll to the bottom of the page and click the OK button
How to change upload_max_filesize in cPanel
Steps to change upload_max_filesize in cPanel.
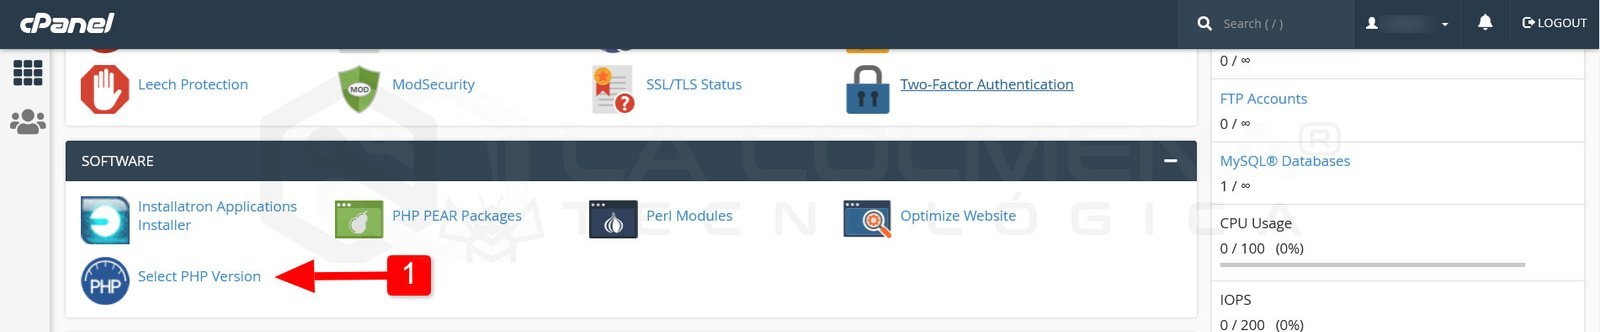


- In the SOFTWARE section, click on Select PHP Version
- On the next screen, click on the Options tab
- Scroll to the bottom of the page and change the value of the upload_max_filesize directive using the selector
Once the change is made, you will be able to upload files larger than 2 Megabytes and the problem will be solved.