
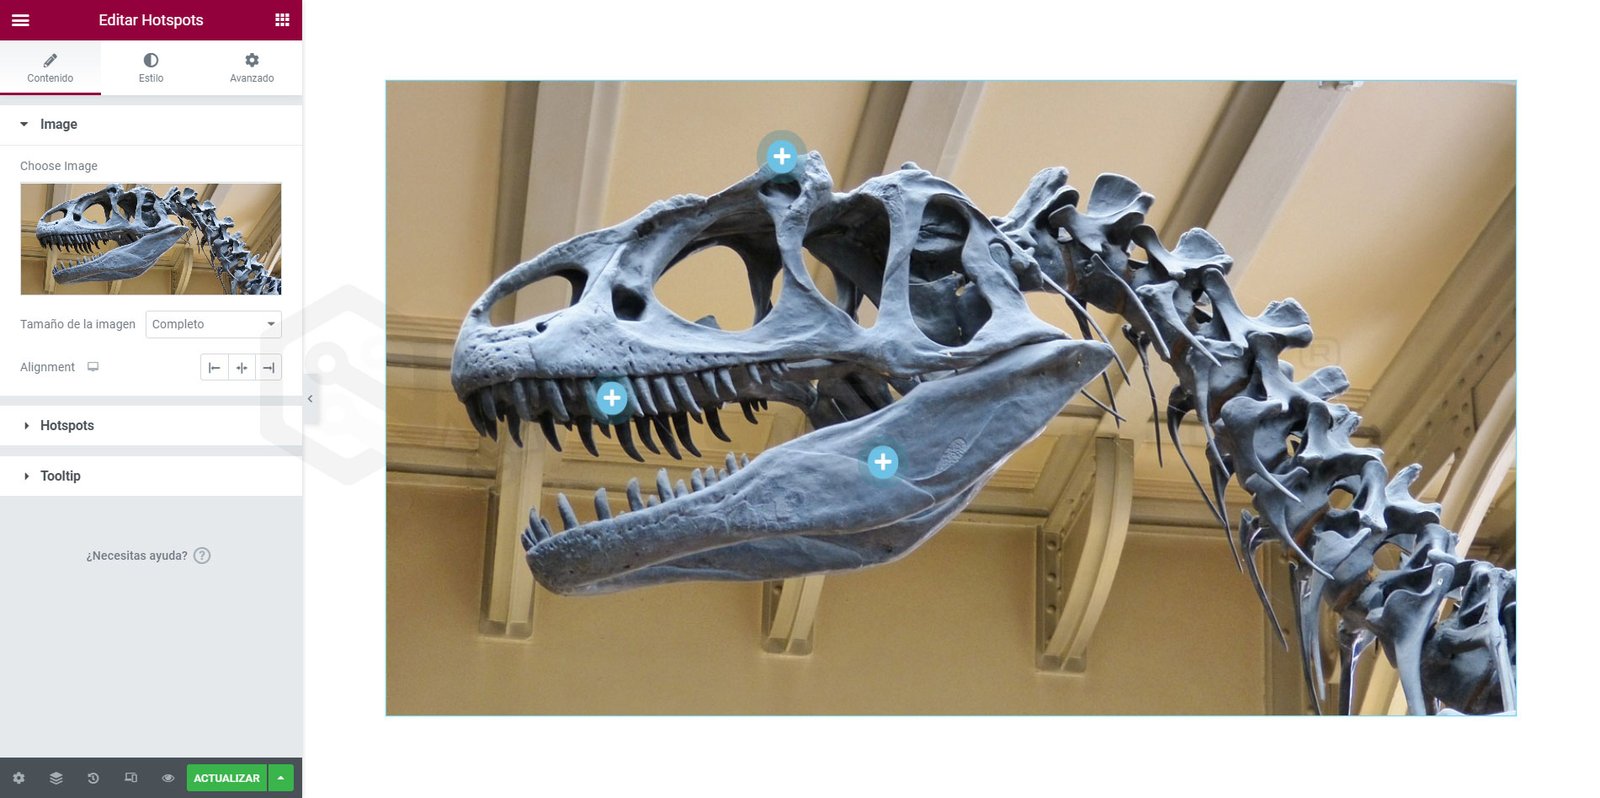
Step-by-step video
Introduction
In this tutorial, you’ll learn how to add hotspots to any image using the JetTricks plugin functionality.
What is a hotspot?
A hotspot is a marker placed on an image to focus the user’s attention on a specific part of it. They are typically used in online stores to provide users with links to products they see in a promotional photo. Hotspots also often support tooltips that display additional information. This guide will show you how to place hotspots on images on your website using the JetTricks widgets.
Step 1: Choose the Image
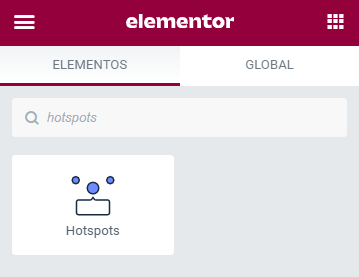
Go to the dashboard and find the page or post where you want to add an image with hotspots. Edit it with Elementor. Find the Hotspots widget in the widget menu on the left side. Drag and drop it onto the page.
Choose the image you want to serve as the base for your hotspots. It’s best to use high-resolution, good-quality photos if you want this part of the page to look really good.
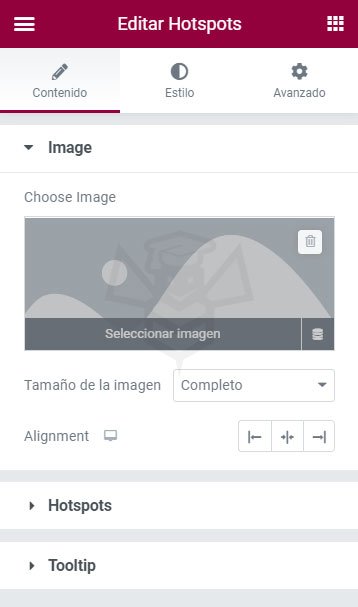
Step 2: Choose the Image
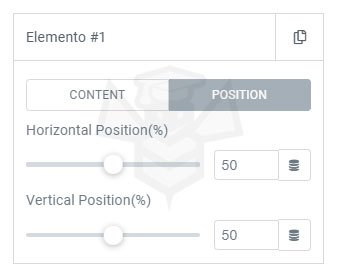
As you can see, a hotspot is created by default and placed in the center of an image. Let’s go to the Hotspots section and click on Item #1.
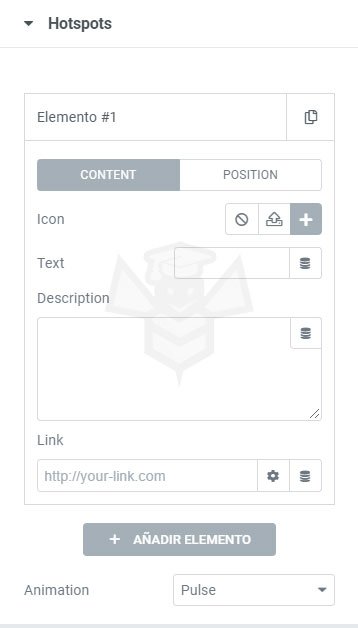
First, here you can change the content or position of a hotspot. You should probably start with the Content.
- Icon: you can choose one from the icon library, upload an SVG file, or even choose not to use any icon.
- Text: the data you enter here will be displayed alongside the icon on the hotspot.
- Description: the text you insert in this text area will be displayed as the tooltip for this hotspot.
- Link: you can choose where the user will be directed when they click on the hotspot (link to another page, link to an image, popup, or leave it empty)
To change the position, you have two sliders: Horizontal Position (%) and Vertical Position (%). You can move the hotspot by dragging a slider horizontally or entering the values as percentages.
You can add (or duplicate an existing one) as many hotspots as you want, simply click the “Add Item” button. Additionally, you can select one of the animation effects, which will be applied to all hotspots. There are 6 animation types that will be displayed in “idle mode,” when the user is not hovering over the image.
Step 3: Set Tooltip Settings
As mentioned earlier, the text to be displayed as a tooltip must be entered in the Description text area of the Hotspot item. And here are other customization settings.
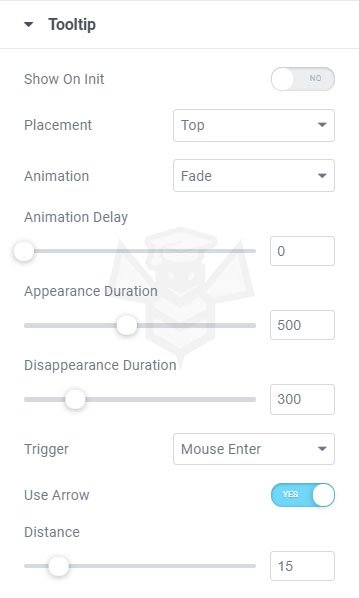
- Show on Init: if this option is enabled, tooltips will always be visible; when disabled, they only appear on mouse hover.
- Placement: here you can choose where to display tooltips: above the hotspot, below, to the left, or to the right.
- Animation: there are 5 animation types for tooltip appearance to choose from.
- Animation Delay: the value that defines the time between trigger activation and tooltip appearance.
- Appearance Duration: a value that defines the speed of the animation with which the tooltip appears after the trigger is activated.
- Disappearance Duration: this value defines how quickly the tooltip will hide after the pointer leaves the hotspot.
- Trigger: this option defines when the tooltip will be displayed. “Mouse Enter” means the tooltip will be shown when the pointer enters the hotspot boundaries. “Click” will make the tooltip appear when the user clicks on the hotspot. “None” makes the tooltip never display.
- Use Arrow: when this option is enabled, the tooltip has a small arrow pointing to the hotspot.
- Distance: there is a space between the tooltip and the edge of the hotspot, and this value defines the size of that space.
Step 4: Change Styles to Your Liking
Go to the Style tab and change the design of the hotspots and tooltips according to your tastes and needs.
Once you’ve set all the settings, update the page and view the image in the interface. Place the cursor over the hotspot and the tooltip will appear immediately.