
Give your website a clear starting point: identify the site, decide which content should appear in search results and check its titles and sitemap. The wizard saves the settings; the final checks tell you whether they suit your website.
This guide starts after installation. If your website already has an SEO configuration, review it before running the wizard again: saving or importing settings can replace existing work.
Before you start
In Plugins → Installed Plugins, check that both SEOPress and SEOPress PRO are active. Pro requires the free plugin. If La Colmena has already installed and activated them, you do not need access to the vendor account to follow these steps. Official installation requirements.
Take a backup and record the SEO title, description, indexing settings and canonical URL of an important page. The canonical identifies its preferred URL. Keep access restrictions and search engine discouragement enabled on a private or staging site.
1. Open the wizard and decide whether to import
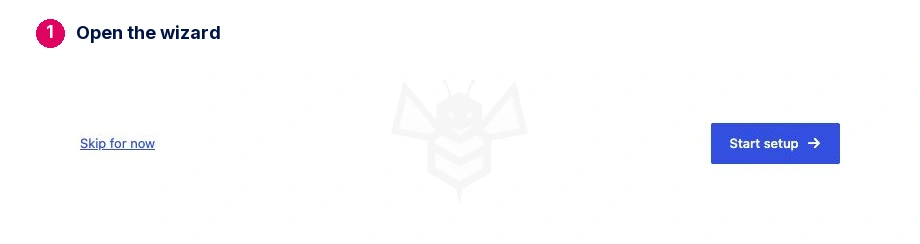
Find SEOPress under Plugins → Installed Plugins, open its setup wizard and click Start setup.
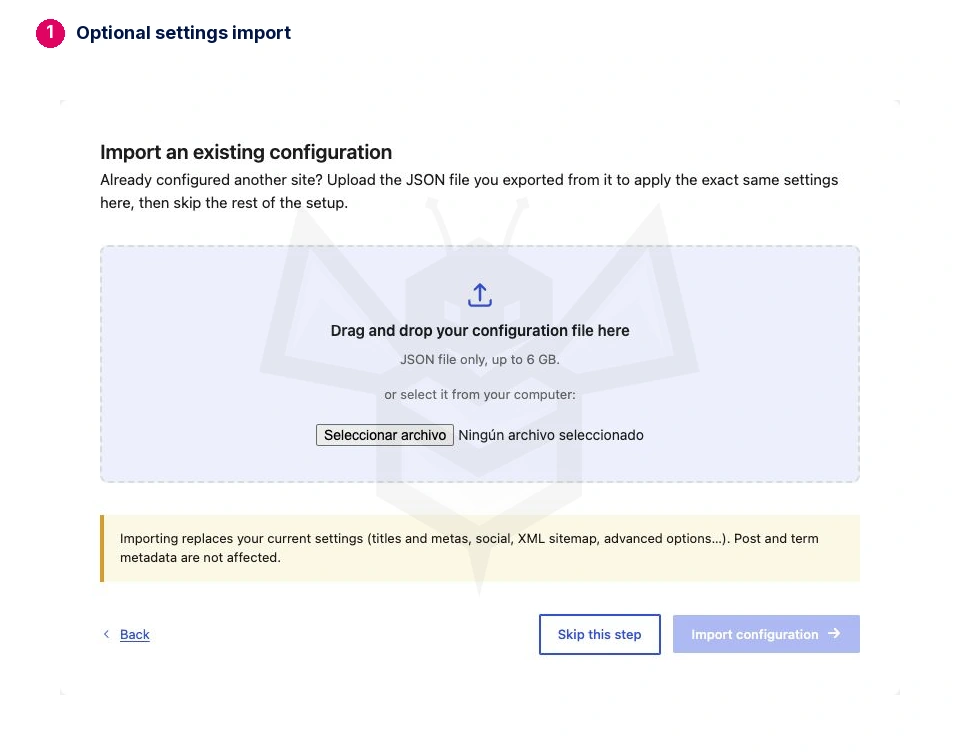
Importing a configuration
This step accepts a JSON settings file exported from SEOPress. It replaces general settings; it does not import individual post or term metadata. Only use a file whose origin and settings you understand. Otherwise, select Skip this step.
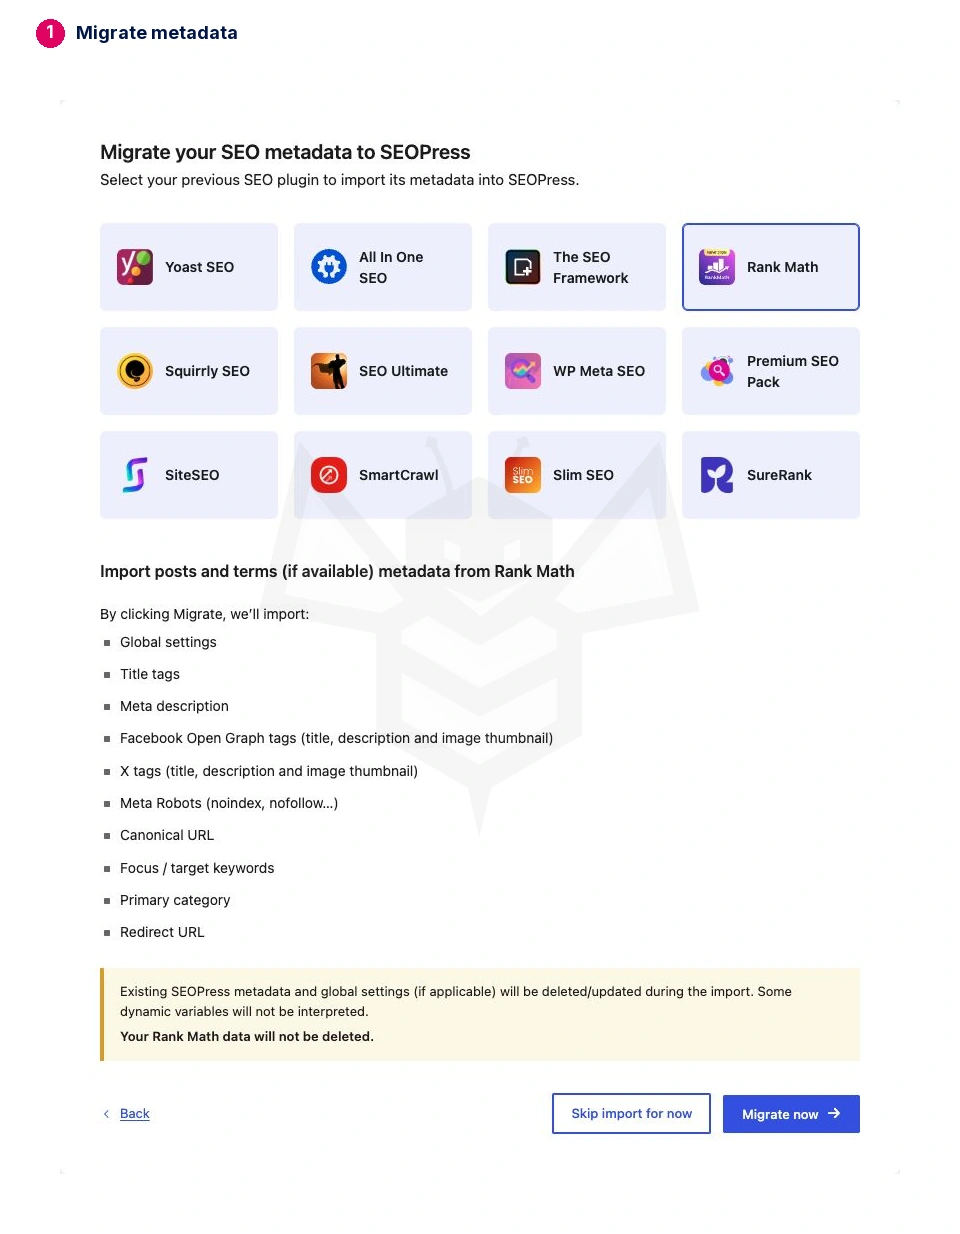
Importing metadata from another SEO plugin
If the site used Rank Math, Yoast or another listed plugin, select it, read the supported fields and overwrite warning, then click Migrate now. Wait for completion. If there is nothing to migrate, skip the import.
Compare your recorded page with the imported values. A controlled test using sample Rank Math metadata preserved the title, description, noindex, nofollow and canonical; it replaced an existing SEOPress title. That verifies those fields in the test, not every feature of a complete website migration.
After importing, deactivate the previous SEO plugin and check the rendered pages with SEOPress. Keep the backup and original data until verification is complete. Check any redirects and other features your site used. SEOPress Free and Pro should remain active together. Official Rank Math migration guide.
2. Identify your site and social profiles
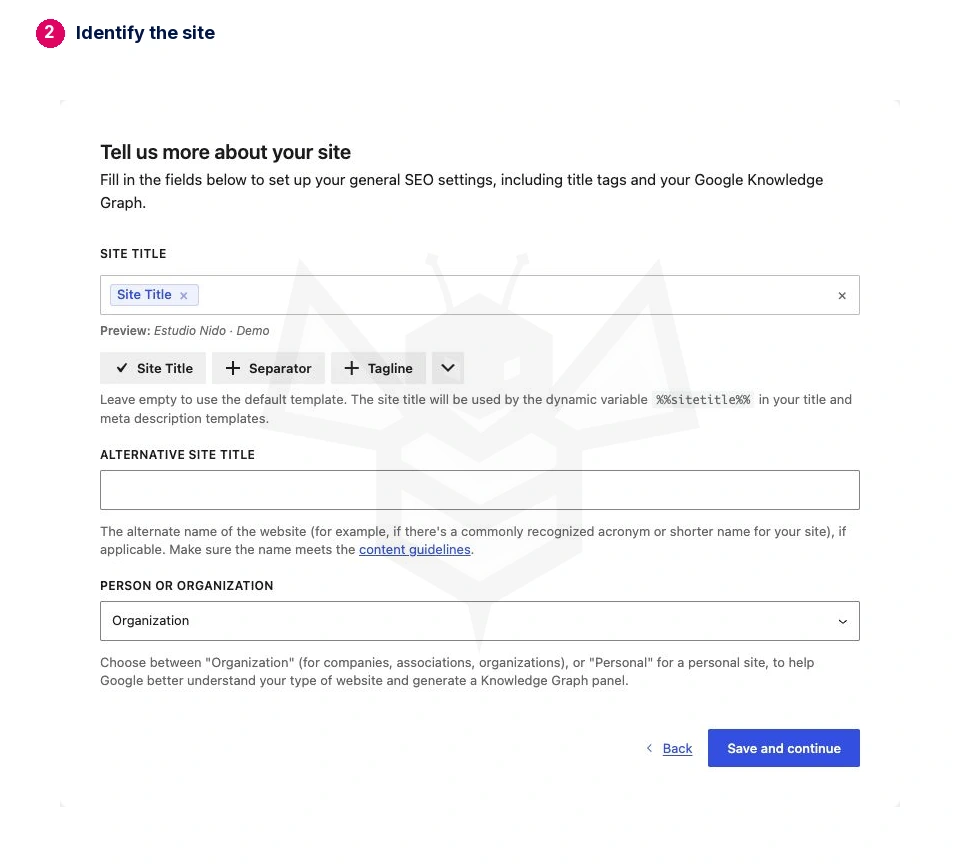
Under Your site, review the site title and preview. Keep the site-title variable if it displays the correct name. Use an alternative title only for a genuine alternative brand name, not a list of keywords.
Choose Person or organization according to the site: a person for a personal website, an organization for a business or institution. This helps describe the site; it does not guarantee a Google knowledge panel. Save and continue.
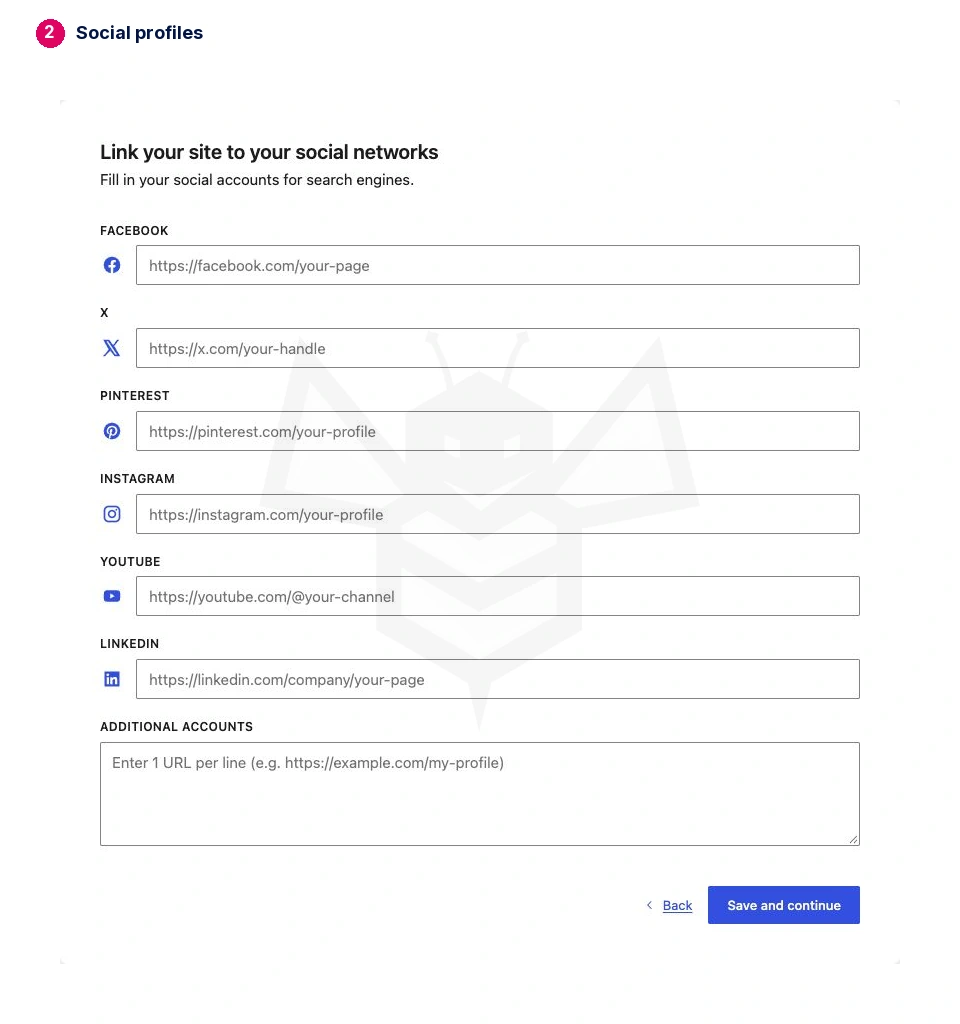
Enter the URLs of the site's actual social profiles. Leave unused networks blank; additional accounts take one URL per line. These fields do not create accounts or publish posts.
3. Decide what search engines should index
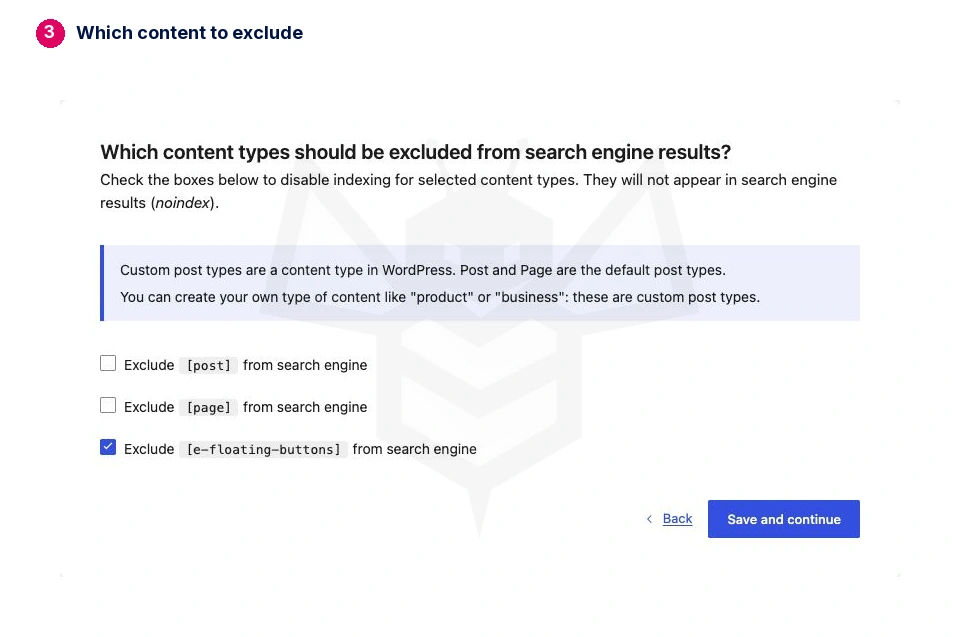
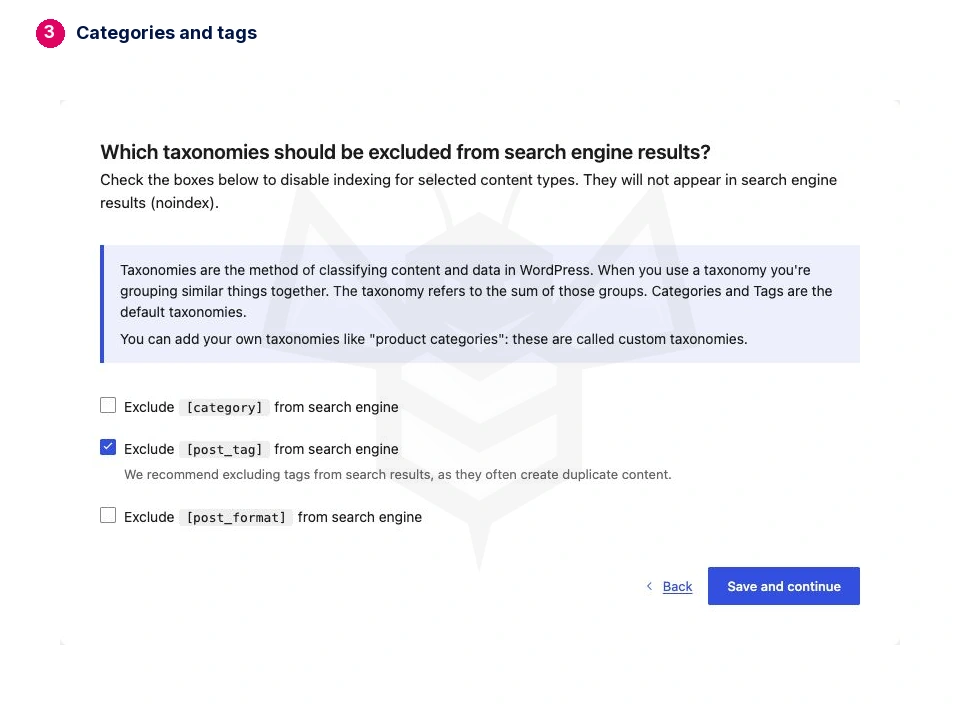
Checking a box excludes that content through noindex. It does not enable indexing. Review each section and save your choices.
Content types
On a public site, useful posts and commercial pages will usually need to remain eligible for search results: leave the [post] and [page] exclusions unchecked unless you have a specific reason to exclude them.
Other plugins can add content types. Do not copy every checkbox from the example: it excludes Elementor floating buttons because they are interface elements, not useful standalone pages.
Archives
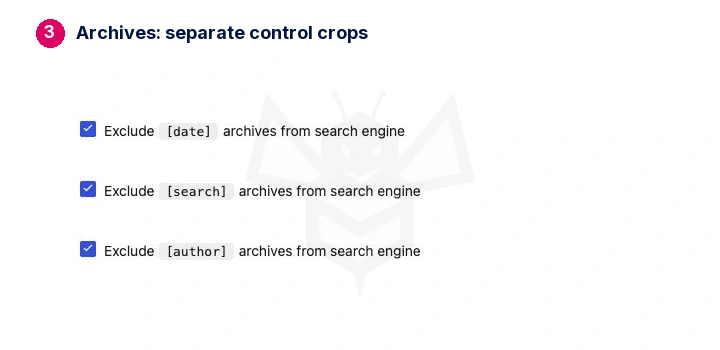
Archives group content by date, author or search. Excluding internal search results is a common starting point. Review date archives if they merely repeat the blog, and author archives if a single author produces the same listing. Useful profiles on a multi-author site may deserve a different decision.
Taxonomies
A category that organizes useful content may deserve indexing. Empty, repetitive or poorly organized tag pages may not. Decide based on the value of each listing, rather than excluding every category or indexing every tag automatically.
On a private site, keep Settings → Reading → Discourage search engines and access controls in place. noindex is not a password and does not protect private information.
4. Use advanced options only for a reason
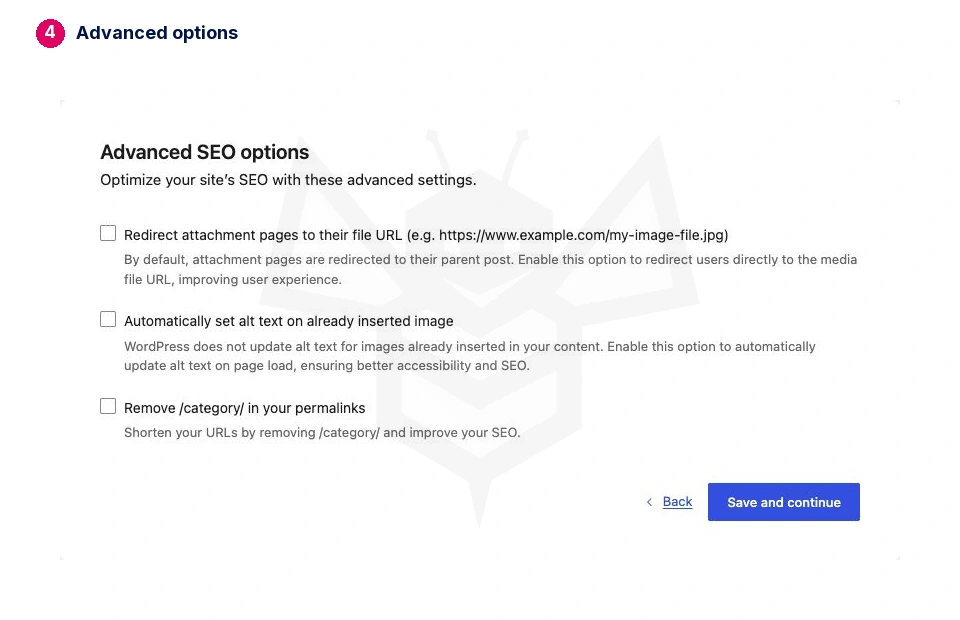
The three options affect different things:
- Redirect attachment pages to their file URL: sends visitors to the media file. Keep the existing behavior unless there is a reason to change it.
- Automatically set alt text on already inserted images: separate from AI generation. Leave it off for this basic walkthrough; first review the media text and each image’s context.
- Remove
/category/from permalinks: changes category URLs. Plan redirects and review internal links before changing published URLs.
This basic example leaves all three unchecked. Save and continue.
Universal SEO metabox
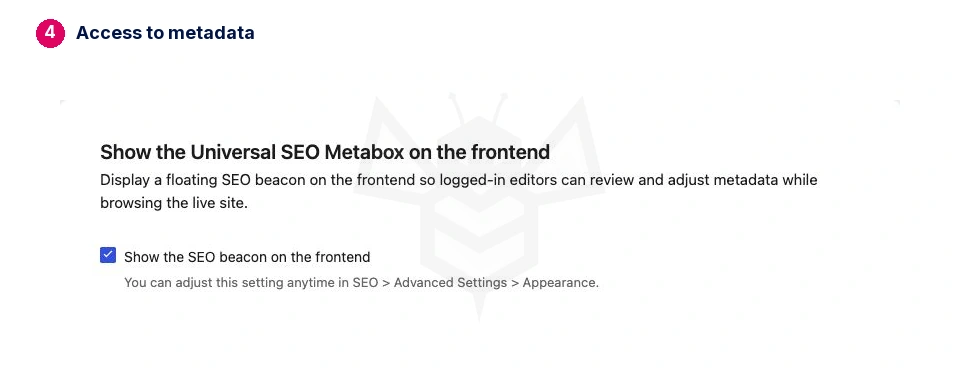
Show the SEO Beacon on the frontend gives logged-in editors access to metadata while browsing the site. Keep it if it helps your workflow, or use the editor instead. This convenience does not improve rankings on its own.
Optional AI assistant
You can finish without connecting AI. Uncheck Enable the AI Assistant and save if you have not selected a provider. No key is required for the basic setup.
If you enable it later, check the API provider or credit service terms: additional usage charges or a separate purchase may apply. Review generated content before publishing it.

5. Finish and check the result
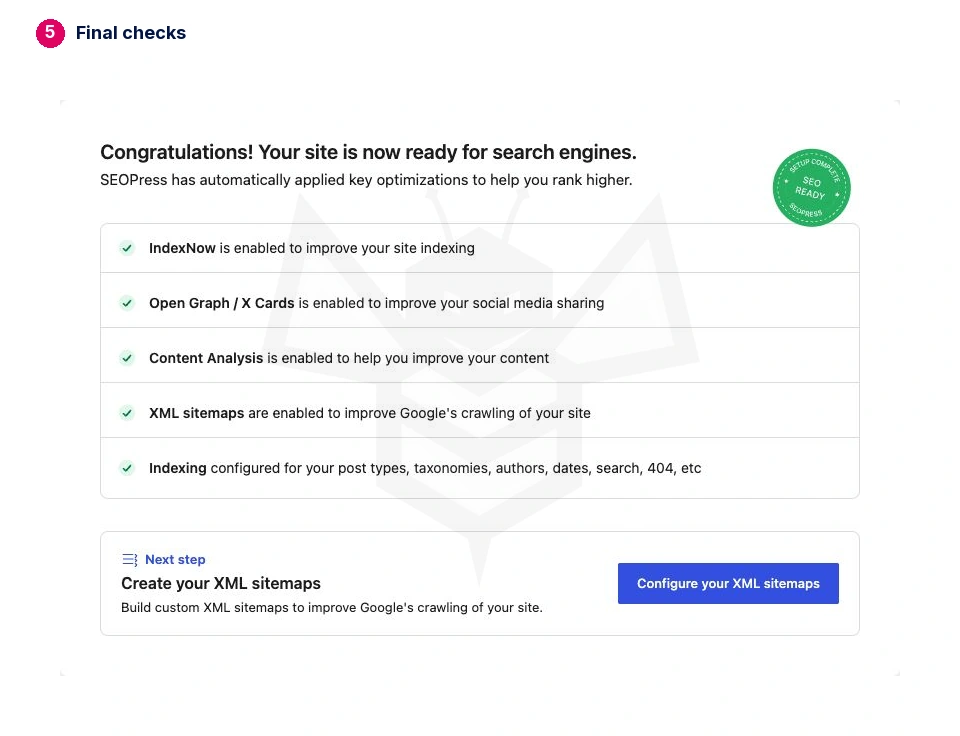
The final screen summarizes the configured modules and offers Configure your XML sitemaps. Completing the wizard does not guarantee indexing or rankings.
- Check an important page. Review its SEO title and write a useful description. Page-specific values take precedence over general templates under SEO → Titles & Metas. An automatic excerpt may read poorly: inspect it. Official titles and descriptions guide.
- Check the rendered source. Find
<title>,name="description",name="robots"andrel="canonical". Look for duplicate titles, descriptions or canonicals and confirm the intended indexing rules. If robots tags conflict, investigate their origin; do not remove staging protections to clear a warning. - Open and test the sitemap under SEO → XML – HTML Sitemap. Review its content types and taxonomies. Valid XML does not mean Google has indexed its URLs. Official sitemap guide.
- Check public visibility intentionally. A public site needs the right WordPress and server settings. A private demo should remain protected; do not submit its sitemap to search engines.
- If you migrated, compare your sample and check the features the site actually used. Migration completion, valid XML and a correct SEO configuration are separate checks.
Once those checks pass, work on one real page: a clear title, a useful description and content that answers the visitor’s question. Redirects, structured data and AI can follow when they solve a specific need.